Need to repair your car paint? Get it done the right way. Whether it’s a minor scratch or major collision damage, understanding the car paint process will help you make informed decisions, ensure quality repairs, and maintain the aesthetic and value of your vehicle.
1. Determine the Paint and Color Match
Before any paint can be applied, your technician will determine your car’s paint type and color match. Color names and codes can vary from shop to shop, so find a professional shop that uses high-tech paint-matching techniques to ensure an accurate match. This will save you time and money in the long run.
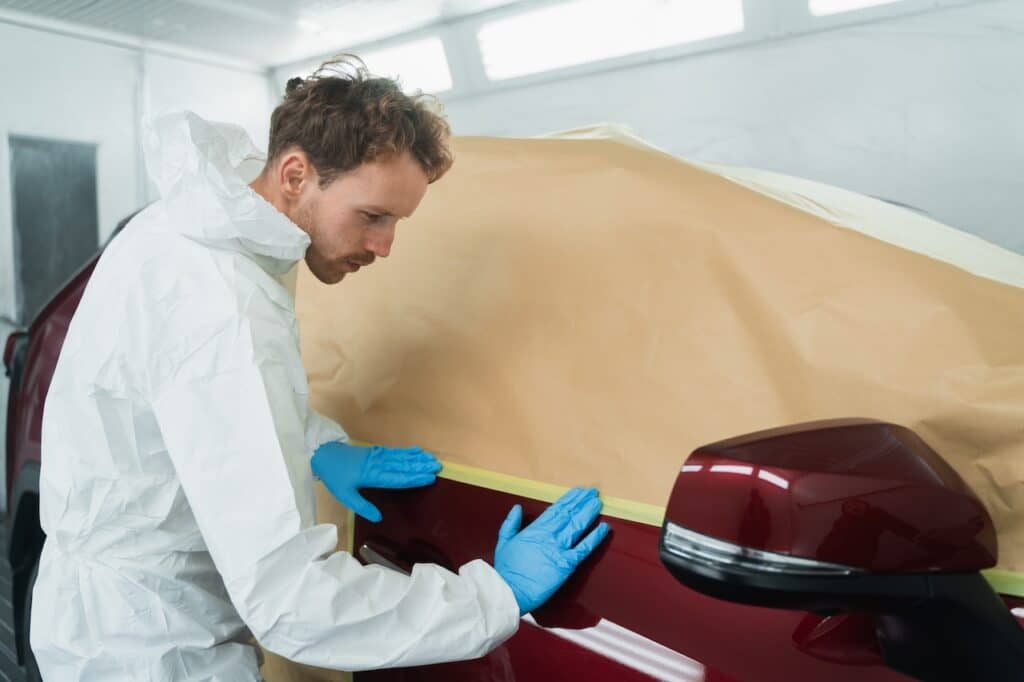
2. Mask Surfaces That Aren’t Being Painted
To protect and prevent overspray on areas that don’t need to be painted, your technician will mask them. This includes:
- Covering windows, mirrors, and other glass surfaces
- Taping off edges and trim pieces
- Placing plastic sheeting to protect the engine and other internal areas
3. Clean and Sand the Surface
The repair area for car paint must be clean and smooth to ensure proper paint adhesion. Your technician will thoroughly clean the damaged area to remove contaminants, then sand it with fine-grit sandpaper to smooth out any rust, old paint, or imperfections. Sometimes it’s even sanded down to the bare metal to ensure a smooth surface.
After sanding, the area will be cleaned again to remove any remaining residue and ensure the best surface for paint adhesion.
4. Apply Primer to Create a Smooth Base
Once the car is completely dry, one to three coats of primer will be applied to create a smooth base for the paint. This is an essential step—it provides adhesion for the paint, prevents rust and corrosion, and helps the paint color to appear true. Without primer, the paint may not stick properly and flake away.
5. Repair Your Car Paint
To repair your car paint, your technician will use multiple layers of paint. This will depend on the type of paint and color match, as well as the extent of the damage. A base coat, mid-coat, and clear coat may be used to achieve the desired color and finish. The paint is applied in thin, even layers with a spray gun or airbrush for a seamless look.
Basecoat
The first coat, or basecoat, provides the color of your car. It’s applied in multiple layers until the desired shade is reached.
Mid-Coat
If your car has a metallic or pearl finish, a mid-coat will be applied after the base coat to give it depth and shine. This layer may also help to achieve a more accurate color match. However, not all paint jobs require a mid-coat.
Clearcoat
The final layer is the clearcoat, which adds well-needed protection to the paint. It’s responsible for giving your car that shiny, showroom finish. There are three types of clearcoat options:
- Gloss Clearcoat: Gives a shiny, high-gloss finish.
- Matte Clearcoat: Creates a flat, non-shiny appearance.
- Tinted Clearcoat: Used to add a slight tint or color to the paint for a unique look.
6. Apply Lacquer or Sealant
To protect your car’s paint and give it a shiny finish, the technician will apply a layer of lacquer or sealant. This will also help the paint to last longer and resist scratches and environmental elements.
7. Wet Sanding and Buffing for a Smooth Finish
After the paint has dried, the repaired car paint will be wet sanded and buffed to create a smooth, flawless finish. This process removes any imperfections and gives the paint a glossy appearance. Your technician may also apply a final layer of wax for added protection and shine.
Rely on the Professionals at Valley Collision for a Flawless Paint Job
At Valley Collision, our expert technicians have years of experience in car paint repair and will ensure that your car receives the best care. We take extreme care of your vehicle and use computerized paint-matching technology to guarantee a perfect color match.
Contact us today and give your car the attention it deserves by letting the professionals at Valley Collision repair your car paint.

