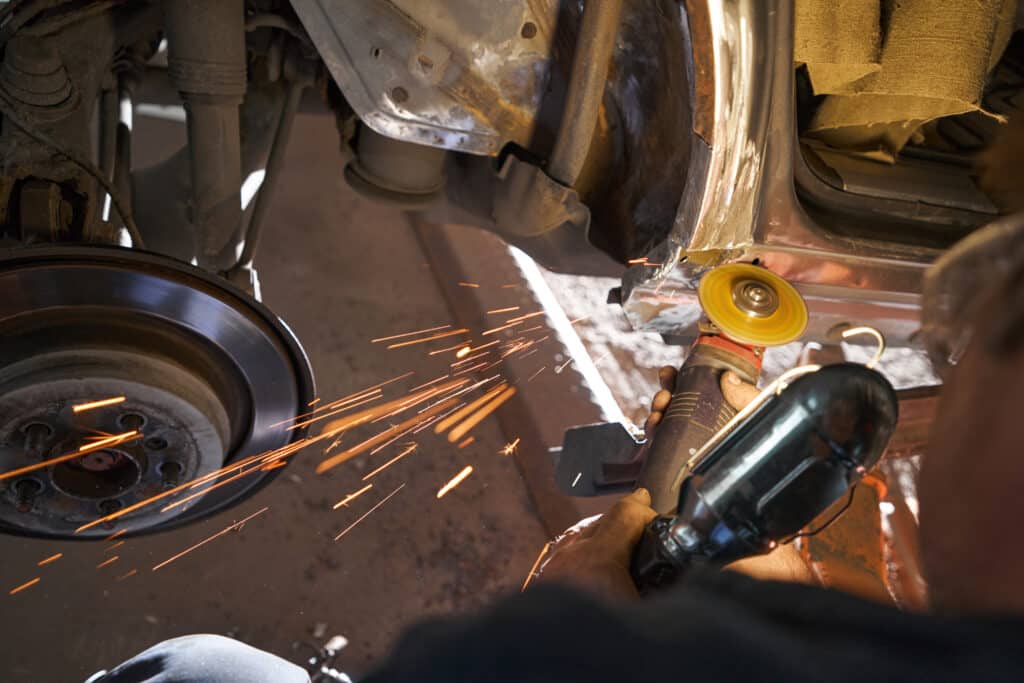
It can be scary to leave your car at the shop for a repair. What really happens once you hand over the keys for some collision repair? To help ease your nerves, we’ve outlined the auto body repair process step-by-step in this guide.
A 7-Step Guide to Collision Repair
It can be quite frustrating when a seemingly straightforward repair takes longer than expected. That’s because repairing your car involves much more than meets the eye. Here’s what you need to know about the auto body repair process.
Step 1: Initial Assessment
The first step is the initial assessment. This involves inspecting the damage and determining what repairs are needed. While the repair shop may provide information about the extent of the damage and work closely with your insurance company, it’s advisable for the vehicle owner to proactively check their insurance policy or consult with their insurance representative to confirm what repairs are covered and to understand any potential out-of-pocket expenses.
Step 2: Disassembly
Once the initial assessment is complete, the technician will begin disassembling your car—removing any damaged parts, developing a repair plan, and taking a closer look at the internal components to ensure there is no hidden damage.
Step 3: Structural Repairs
If you need collision repair, there may be damage to your car structure. The car repair shop will repair or replace any damaged frame or internal structures that are essential to the structural integrity of the vehicle.
Step 4: Body Work
After the structural repairs are complete, the technician will move on to bodywork. Often, they will smooth out dents and scratches, fill in any gaps, and prepare the surface for paint.
Step 5: Painting and Refinishing
Before painting can begin, the technician will sand and prime to ensure a smooth and even surface. Once prepped, your car will be painted to match its original color. Many mechanics will even have a computerized paint-matching system to ensure the perfect match.
Step 6: Quality Control and Testing
Once the paint has dried, the mechanic will conduct a final inspection to ensure all collision repairs were done correctly and that your car is safe to drive. They may also take it for a test drive to check for any potential issues.
Step 7: Final Assembly and Detailing
In the final step, all parts will be reassembled and any cosmetic details, such as decals or emblems, will be added back onto your car. Your car will also receive a thorough cleaning to make it look as good as new.
Caring for Your Vehicle Post-Collision Repair
Once you’ve navigated the auto body repair process, it’s important to take some extra steps to maintain the condition of your vehicle and protect the recent work done. Here are a few tips for post-repair care:
- Avoid Harsh Conditions: Try to avoid harsh weather conditions, such as extreme heat or cold, as they can affect the newly painted surfaces. If possible, park your car indoors or under a carport for the first few weeks.
- Wait Before Washing: It’s recommended to wait at least two weeks before washing your car. Chemicals in soap can affect the fresh paint.
- Inspect Regularly: Regularly inspect the repaired areas for any signs of issues such as peeling paint, unusual sounds, or misalignment. If you notice anything out of the ordinary, contact your technician as soon as possible.
By following these tips, you can extend the lifespan of your vehicle and help prevent future collision repairs. Our bonus tip is to regularly maintain your car to help avoid accidents and damage in the first place. Remember, it’s always better to be proactive than reactive when it comes to caring for your car.
Come to Valley Collision For Excellent Vehicle Care
At Valley Collision, we understand the importance of taking care of your vehicle. Our team of experienced technicians will provide top-notch repairs and guide you through the entire auto body repair process. Don’t hesitate to contact us for a free estimate.

